In part 5 of this tutorial, we will demonstrate how to manage breeding plans and predicted dogs.
We will start by opening the previously saved dog directory document created in parts 1 to 4 of this tutorial.
Click Main Menu → View → Dog Directory.
If "Tutorial" is the only dog directory document in the library, the application and opens it automatically, otherwise it presents the Dog Directory Selector dialog so that you can select the document to open.
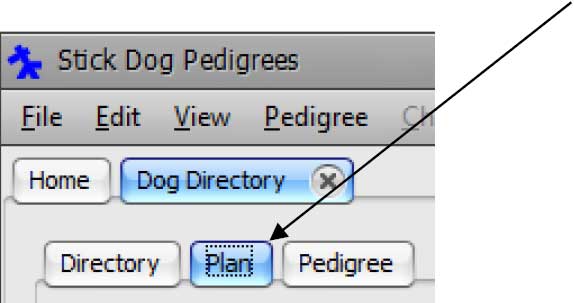
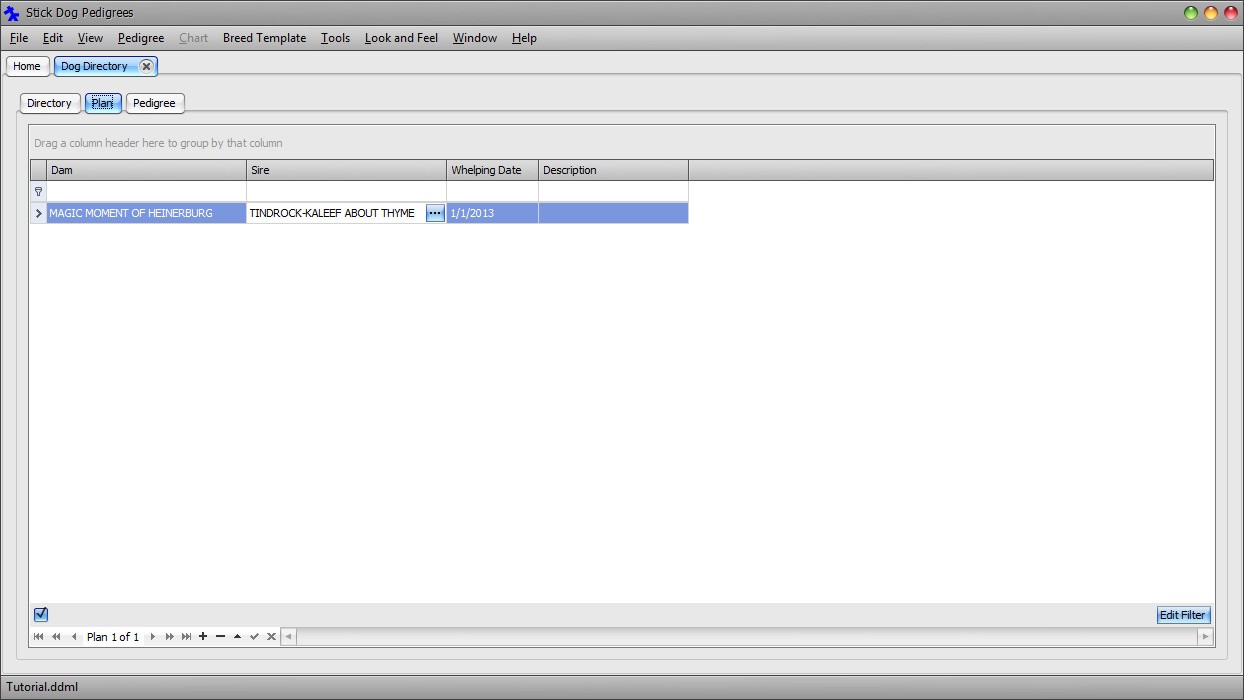
Click the Plan tab at the top of the form.
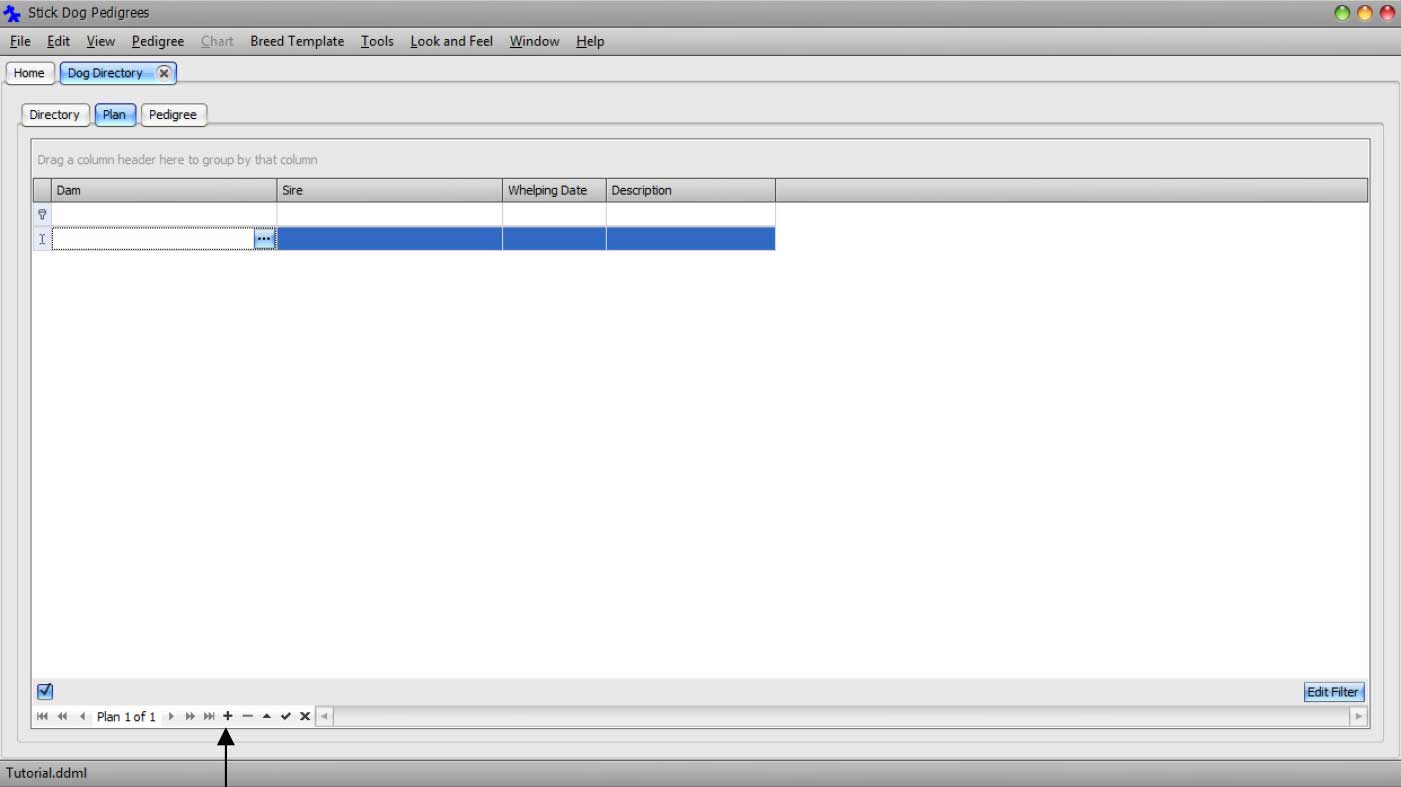
Click the Append button in the Plan Data Navigator.
Next, we will specify a Dam and Sire for the breeding plan.
Click the selector button appearing on the right hand side of the Dam field.

The Dam Lookup dialog appears allowing you to choose an existing female dog from the directory.
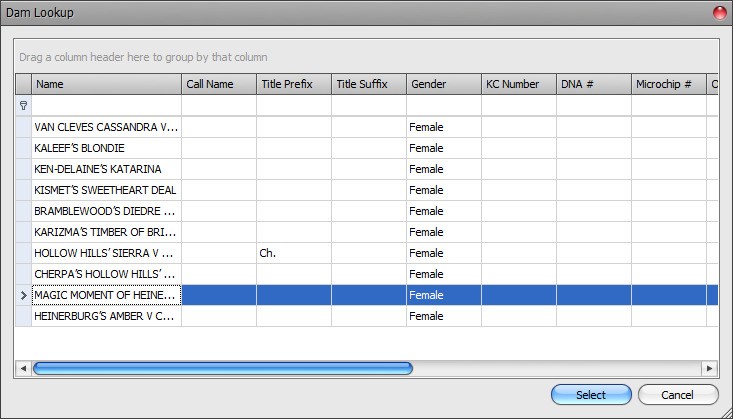
Select MAGIC MOMENT OF HEINERBURG and click Select.

Click the selector button appearing on the right hand side of the Sire field.

The Sire Lookup dialog appears allowing you to choose an existing male dog from the directory.
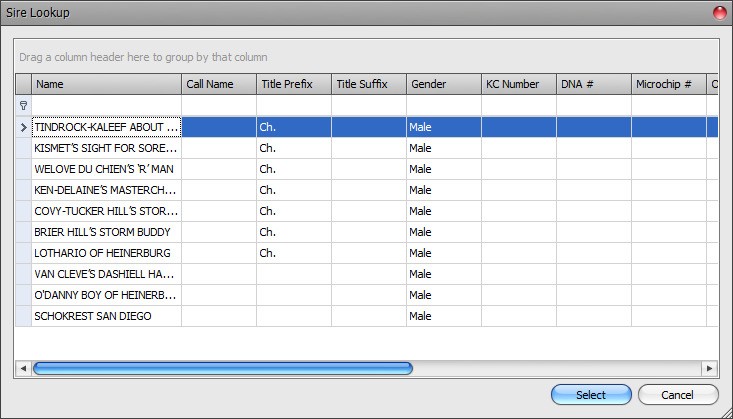
Select TINDROCK-KALEEF ABOUT THYME and click Select.

You may also set a Whelping Date, which is optional. If you do, the Pedigree panel will display any "actual" dogs that exist in the directory with the same Sire, Dam, and Whelping Date in the "Actual" column of the Stick Dog Color chart, next to the predicted dogs associated with the plan. If no Whelping Date is selected, the Pedigree panel will display any "actual" dogs that exist in the directory with the same Sire and Dam and no Whelping Date.
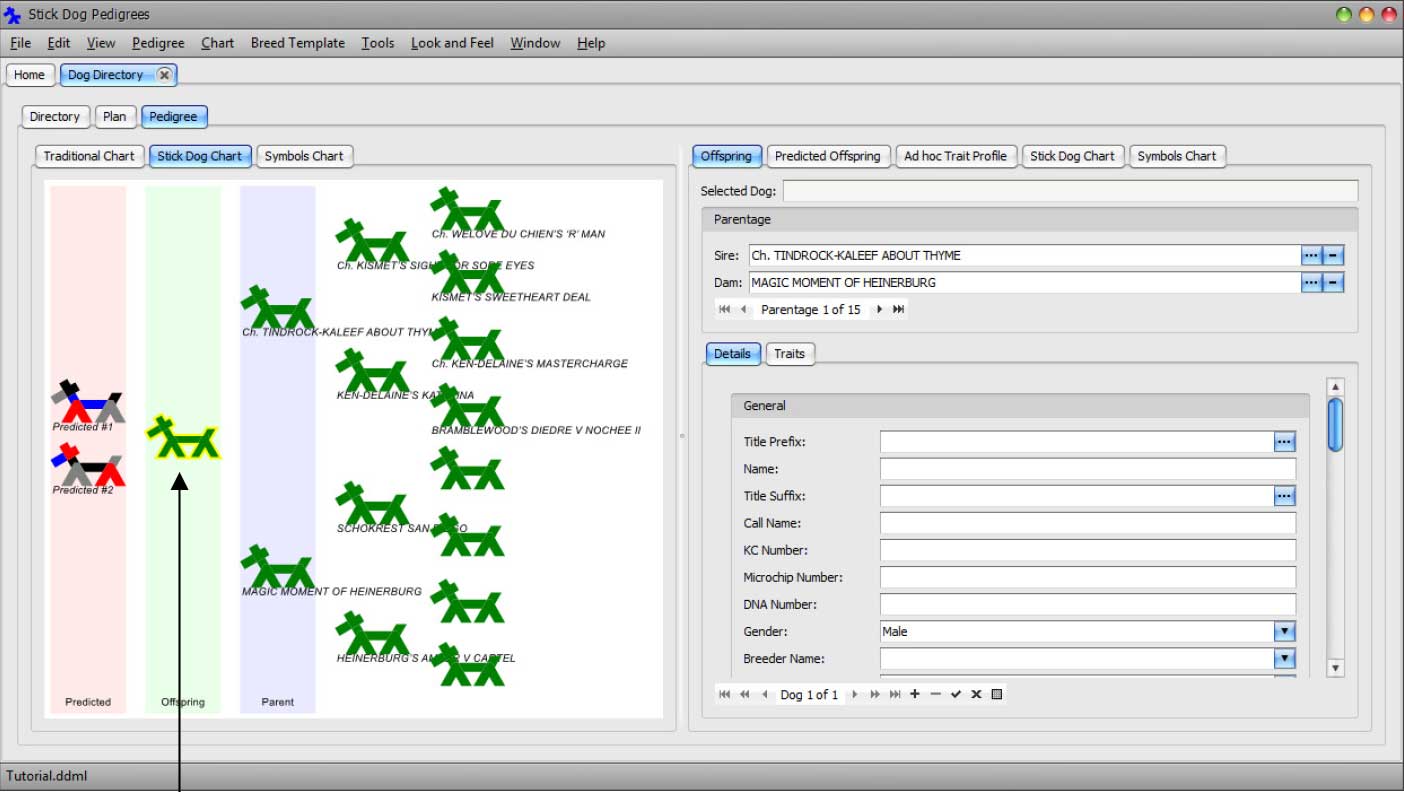
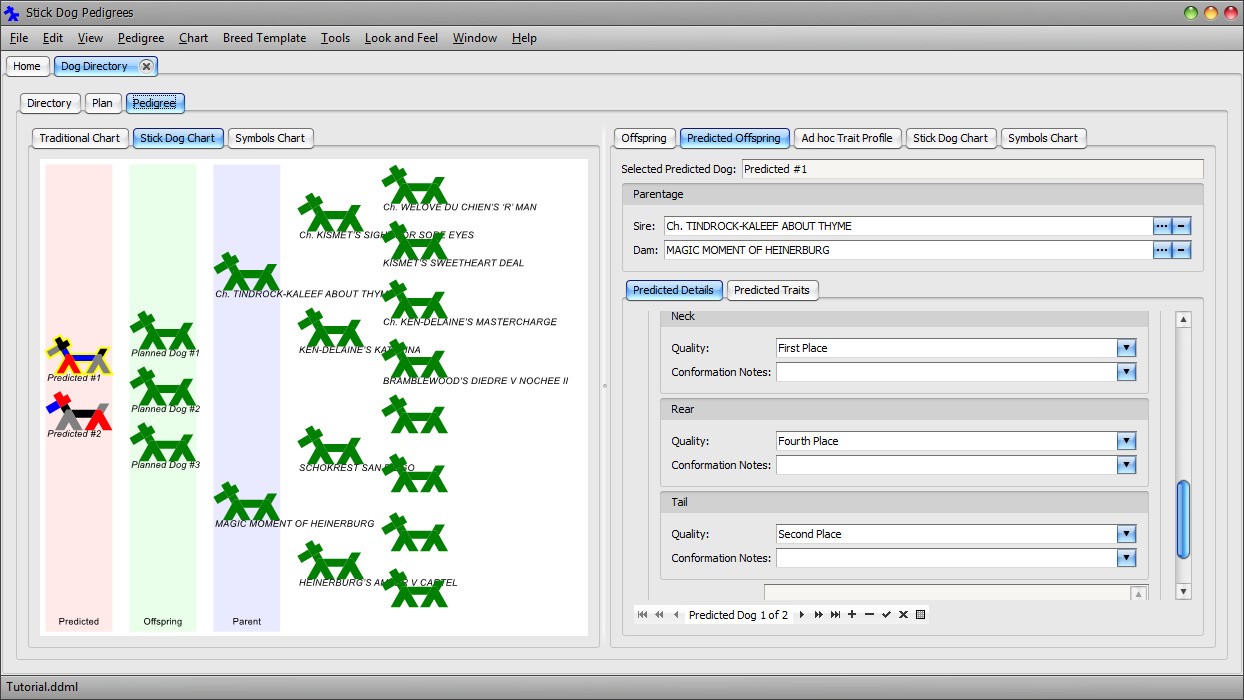
Click the Pedigree tab to display the pedigree for the plan. The pedigree is made up of the sire and dam along with their ancestors. Offspring of the sire and dam, if any, are included as well.
There are no offspring of MAGIC MOMENT OF HEINERBURG and TINDROCK-KALEEF ABOUT THYME in the directory. The Stick Dog Color chart displays a placeholder dog in the offspring column in case you decide to enter details about a dog resulting from the actual breeding of MAGIC MOMENT OF HEINERBURG and TINDROCK-KALEEF ABOUT THYME. The chart also displays a placeholder predicted dog for getting started with entering the predicted litter.
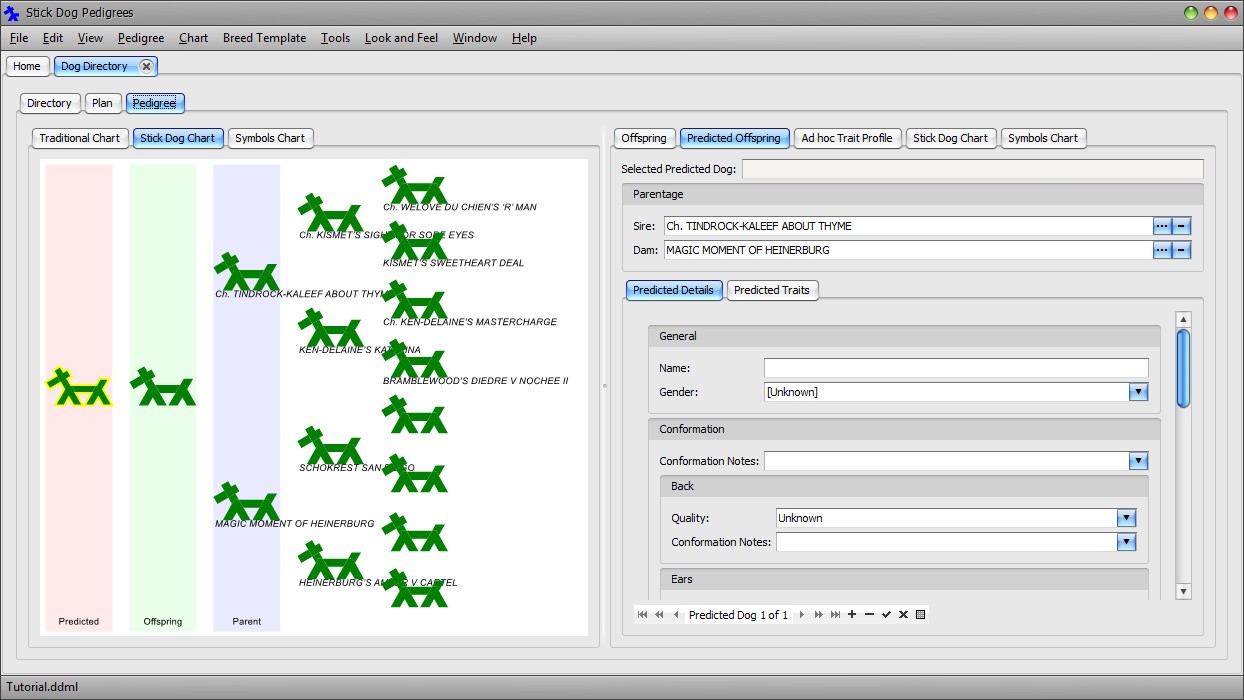
When a plan is displayed in the Pedigree panel, the "Predicted Offspring" panel on the right hand side of the form is enabled. In addition, the Stick Dog Color chart and Symbols chart display the predicted litter.
The "Predicted Offspring" panel is similar to the Offspring panel except that it only allows a restricted set of information to be entered for each predicted dog. This is because predicted dogs do not have AKC numbers or owners and so forth. Conformation quality data and trait selections are supported for predicted dogs.
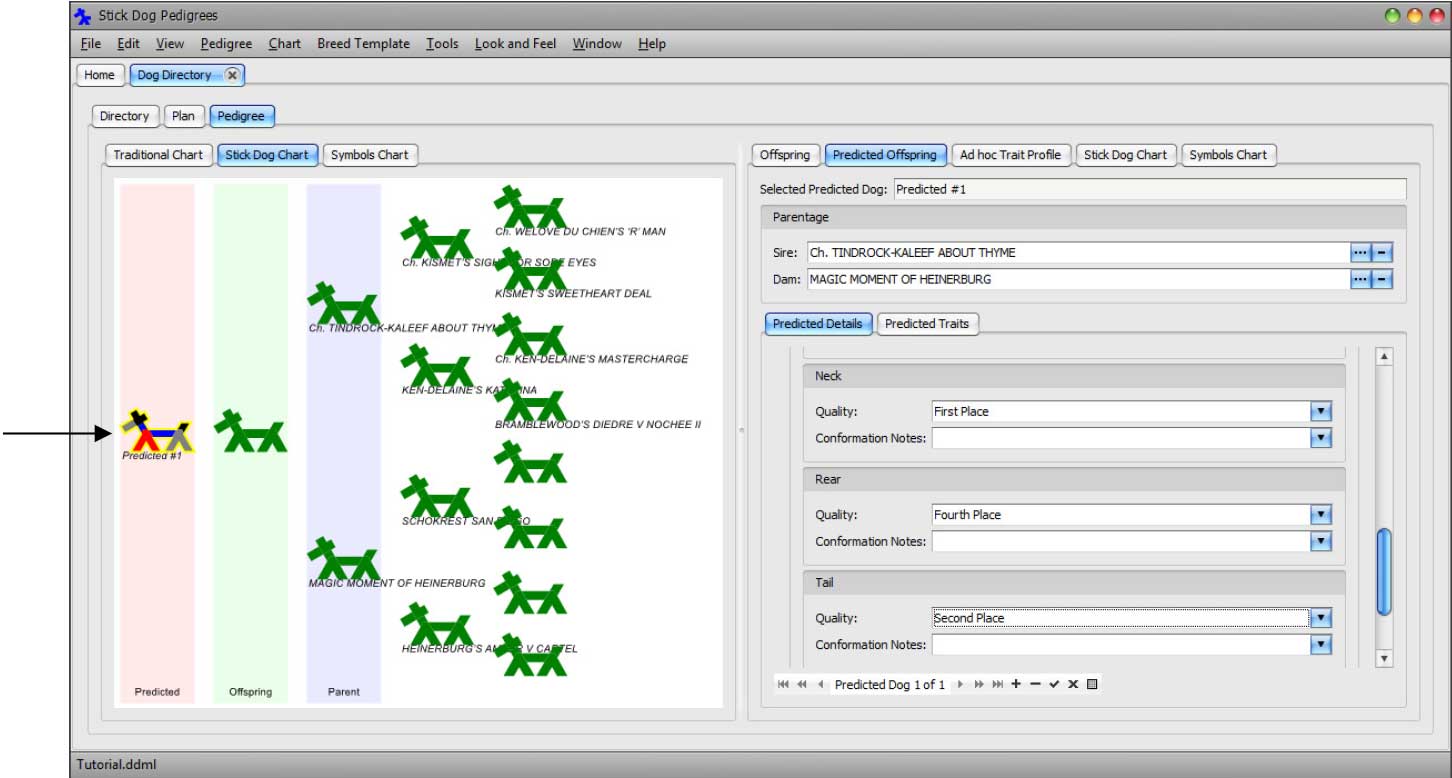
Select the placeholder predicted dog in the chart. In the Predicted Offspring - Predicted Details panel, set the Name field to "Predicted #1". Set the Conformation Quality settings as follows:
- Back: First Place
- Ears: Second Place
- Front: Third Place
- Head: Fourth Place
- Neck: First Place
- Rear: Fourth Place
- Tail: Second Place
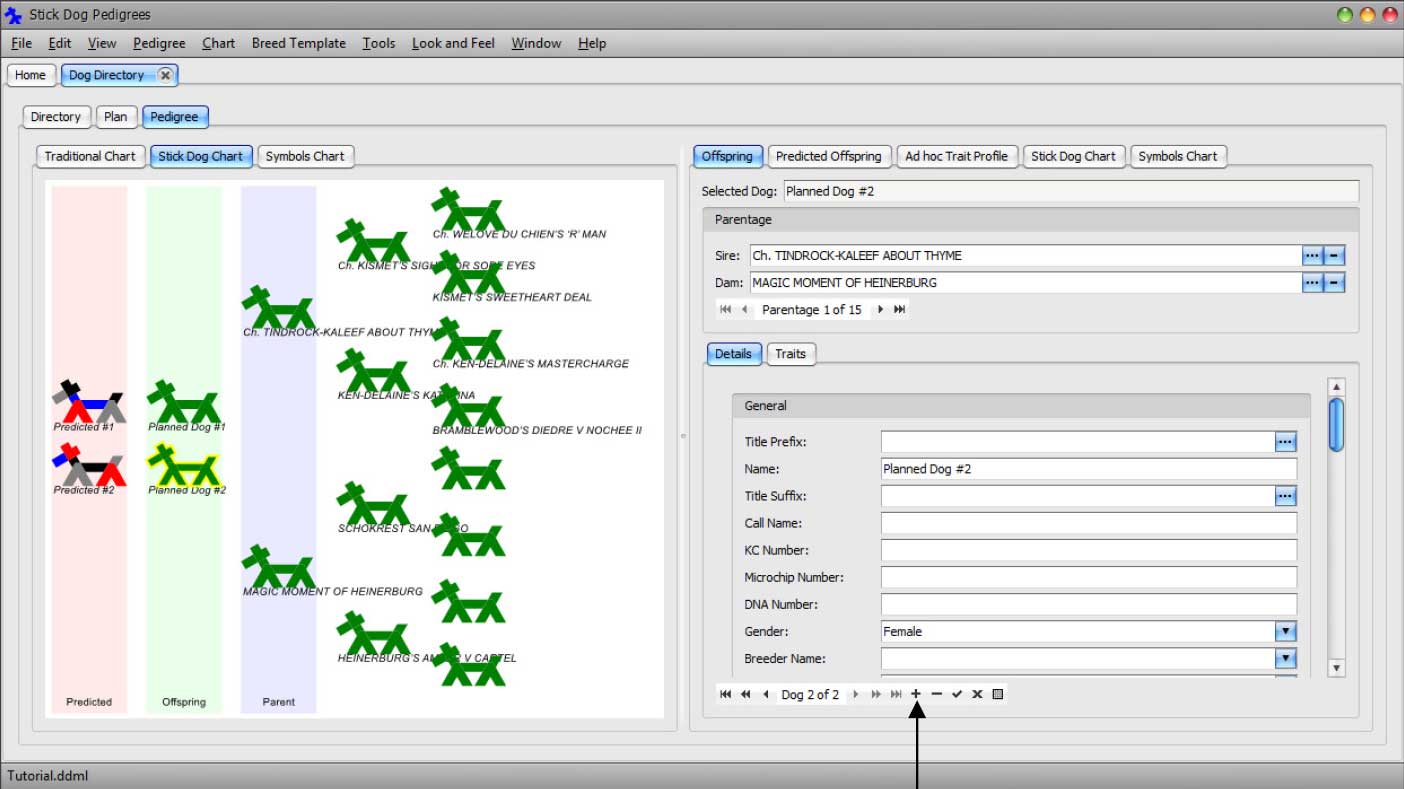
Add a second dog to the predicted litter by clicking the Append button of the Predicted Dog Data Navigator.
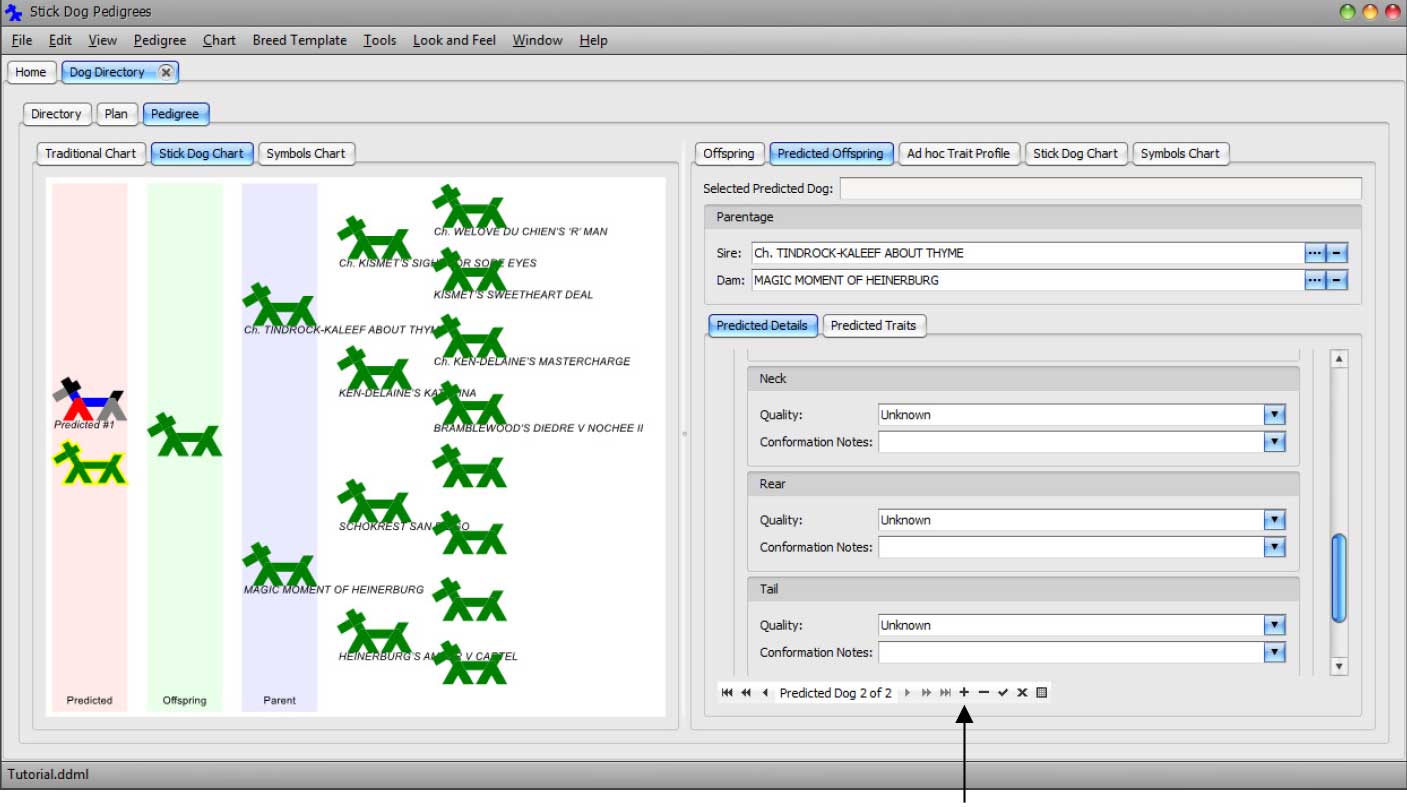
In the Predicted Offspring - Predicted Details panel, set the Name field to "Predicted #2". Set the Conformation Quality settings as follows:
- Back: Second Place
- Ears: Third Place
- Front: Fourth Place
- Head: First Place
- Neck: Second Place
- Rear: Third Place
- Tail: Fourth Place
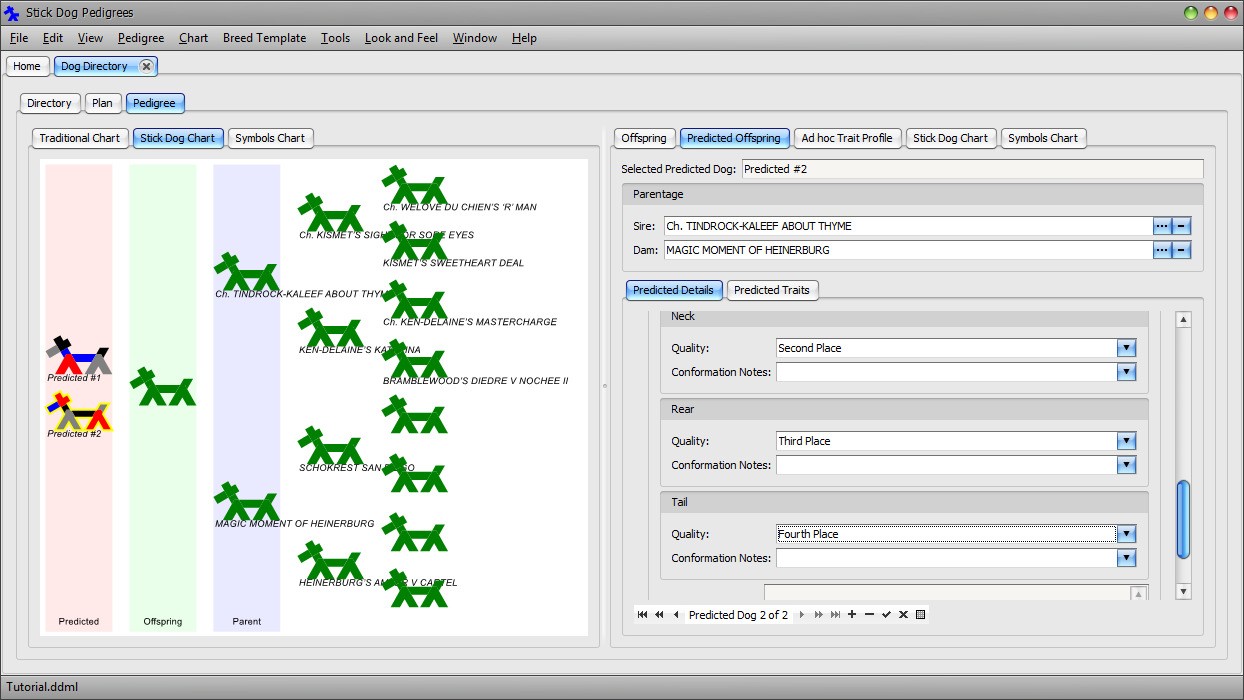
The predicted litter is now comprised of two dogs. The same procedure can be followed to add additional predicted dogs to the plan.
Suppose the breeding plan is executed and a litter born. The actual (real) dogs resulting from the breeding may be added to the directory using the Offspring panel in manner similar to how the predicted dogs were entered.
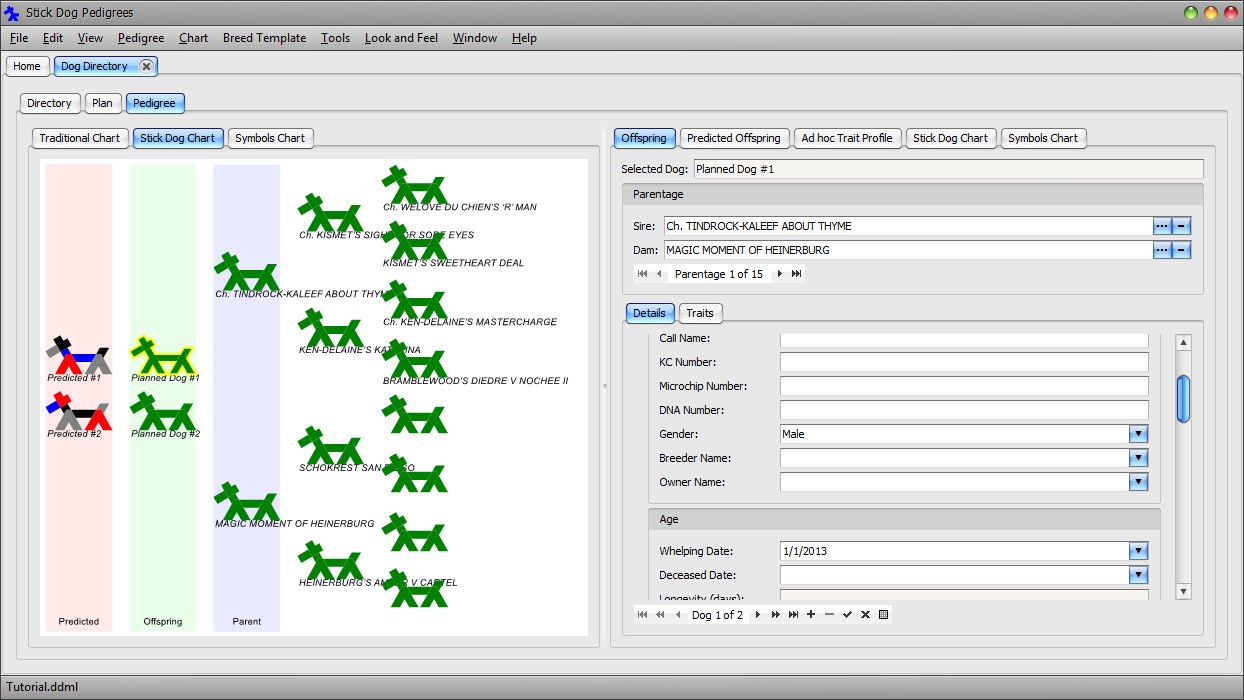
Click the placeholder dog appearing in the Offspring column of the Stick Dog Color chart.
The Offspring tab is automatically selected.
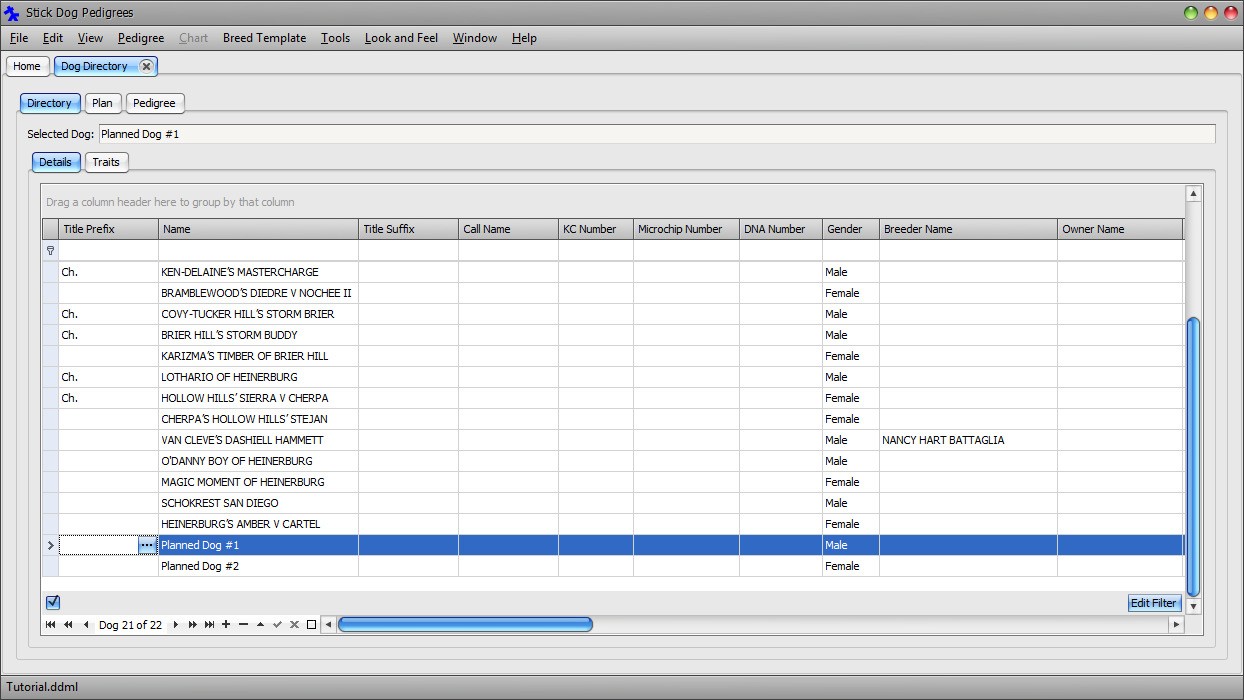
Enter "Planned Dog #1" into the Name field.
Add a second dog to the actual litter by clicking the Append button of the Dog Data Navigator.
Enter "Planned Dog #2" into the Name field. Set the gender to female.
Select the first planned dog and enter a "1/1/2013" into the Whelping Date field.
Click the second planned dog. Notice the Whelping Date field has been automatically set to the same date. That is because both dogs belong to the same litter.
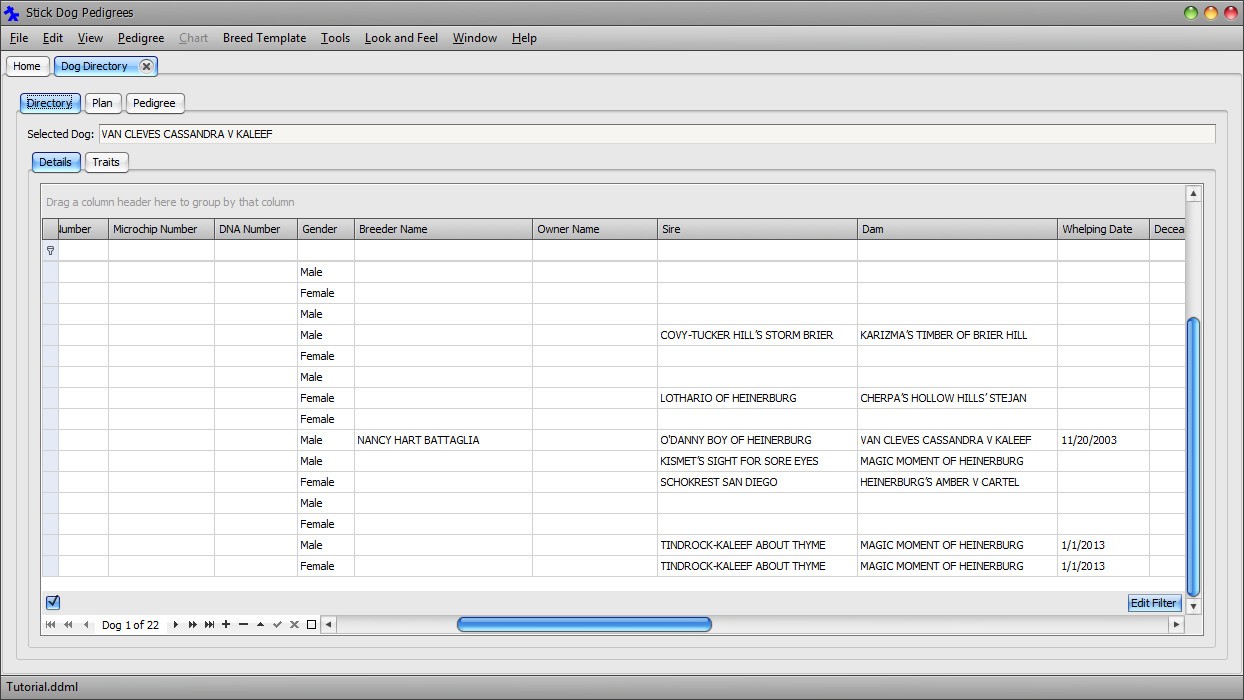
Click the Directory tab to return to the Dog Details List panel. Scroll to the bottom of the list. Notice the addition of the two planned dogs.
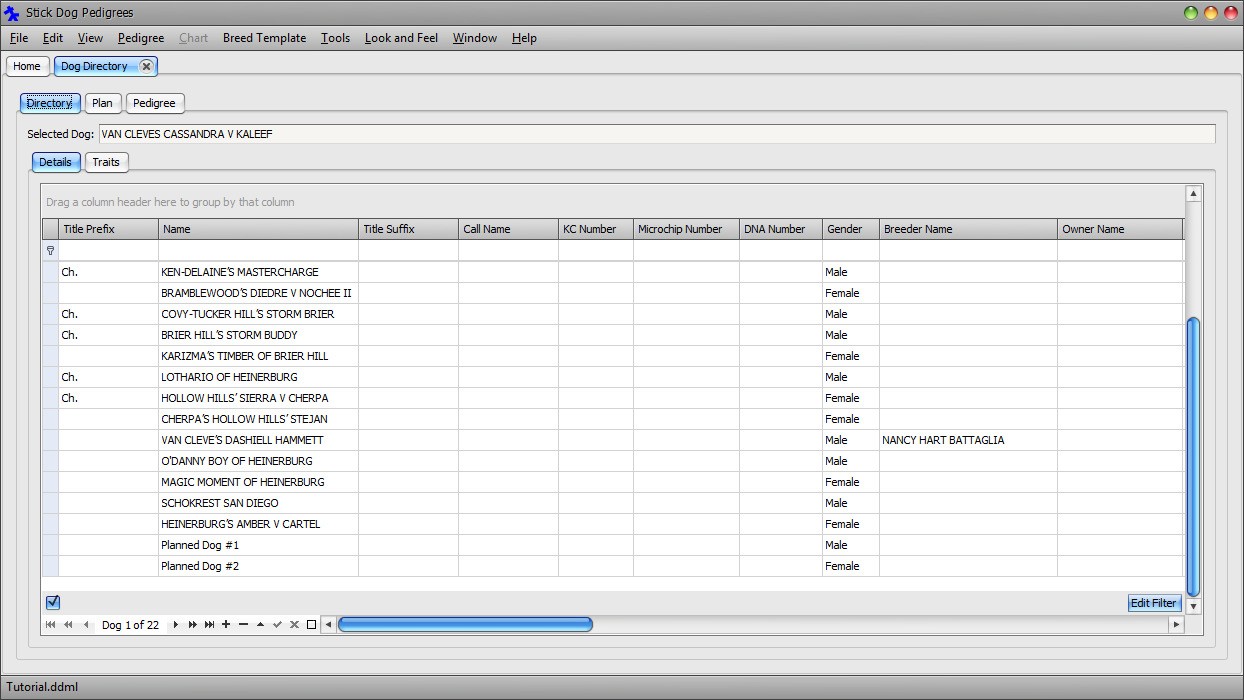
Scroll to the right and notice the Sire and Dam have been set to the plan parents.
Select Planned Dog #1 in the directory list.
Click the Pedigree tab followed by the Stick Dog Chart tab.
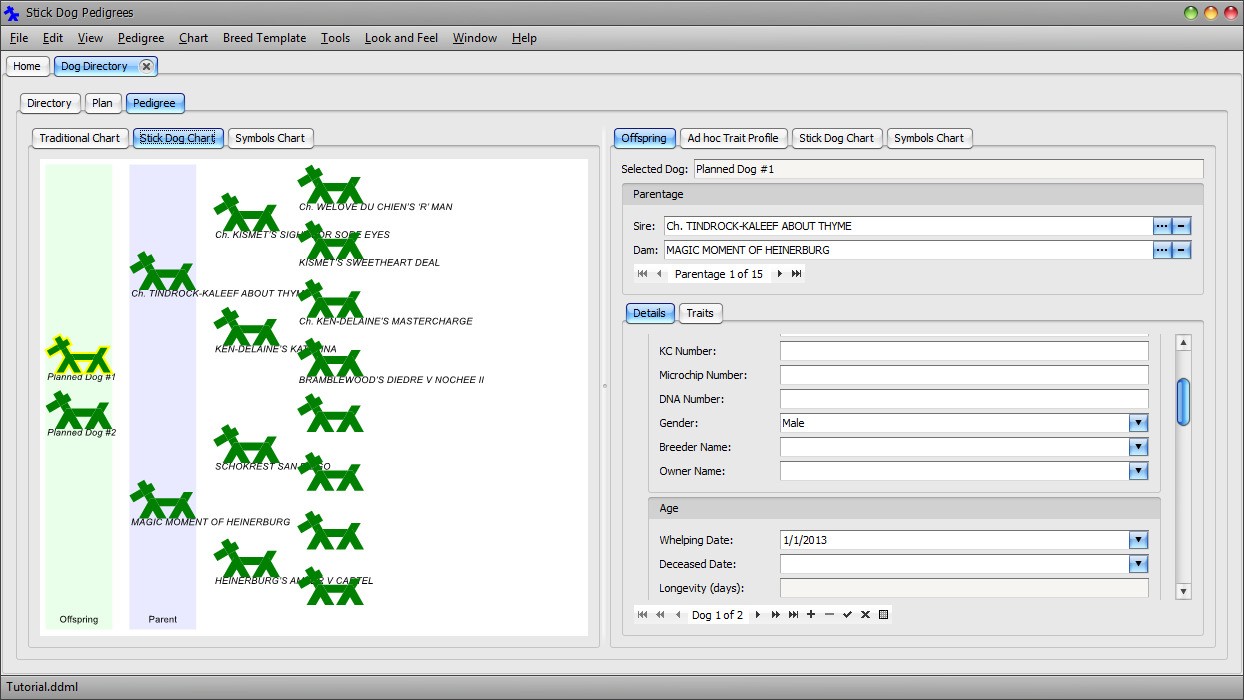
Notice the two planned dogs are now displayed as legitimate offspring of MAGIC MOMENT OF HEINERBURG and TINDROCK-KALEEF ABOUT THYME. They have an existence outside of the plan.
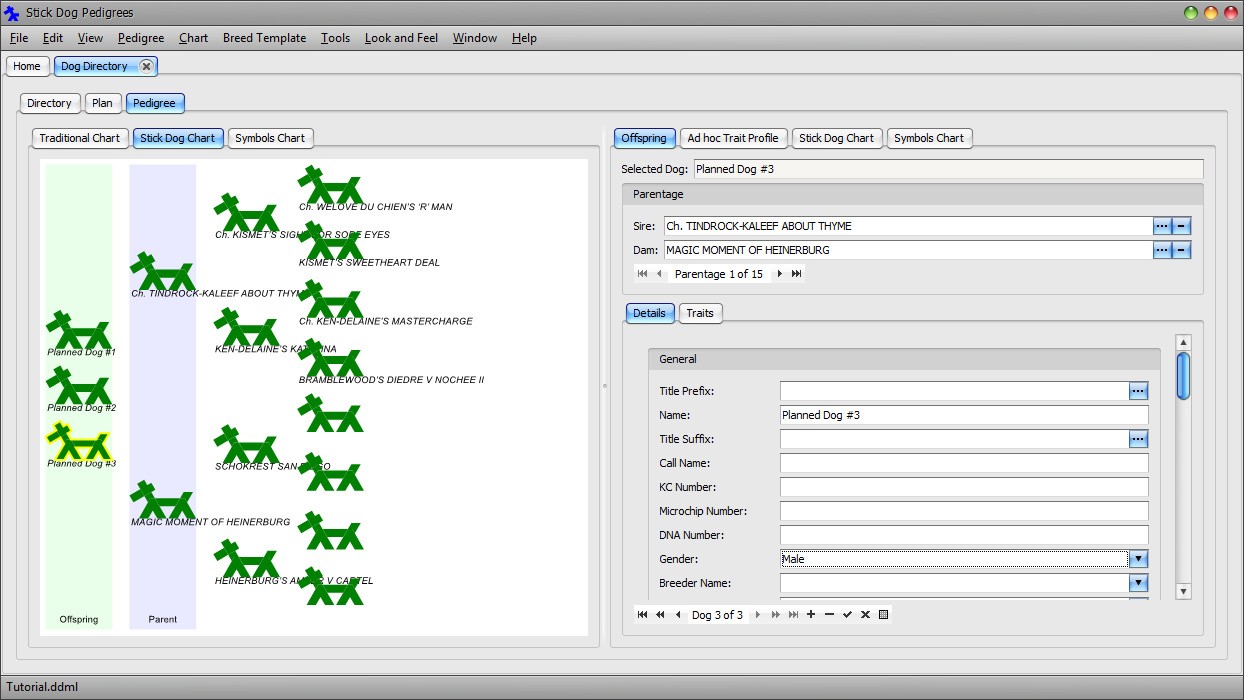
Add a third dog to the actual litter by clicking the Append button of the Dog Data Navigator.
Enter "Planned Dog #3" into the Name field. Set the gender to male. Notice the Whelping Date of the new dog is inherited from the litter.
Click the Plan tab.
Notice the Whelping Date field is now set to the date the actual litter was born.
Click the Pedigree tab.
Notice the predicted dogs are again visible. Predicted dogs are only displayed for plans. Furthermore, each plan has its own set of predicted dogs. Predicted dogs do not appear in the main directory listing because it is reserved for "real" dogs.
Notice also that predicted dog #3 now appears. Actual dogs appearing in the pedigree are determined based on the current state of the directory.
Save the changes to file by clicking Main Menu → File → Save.